
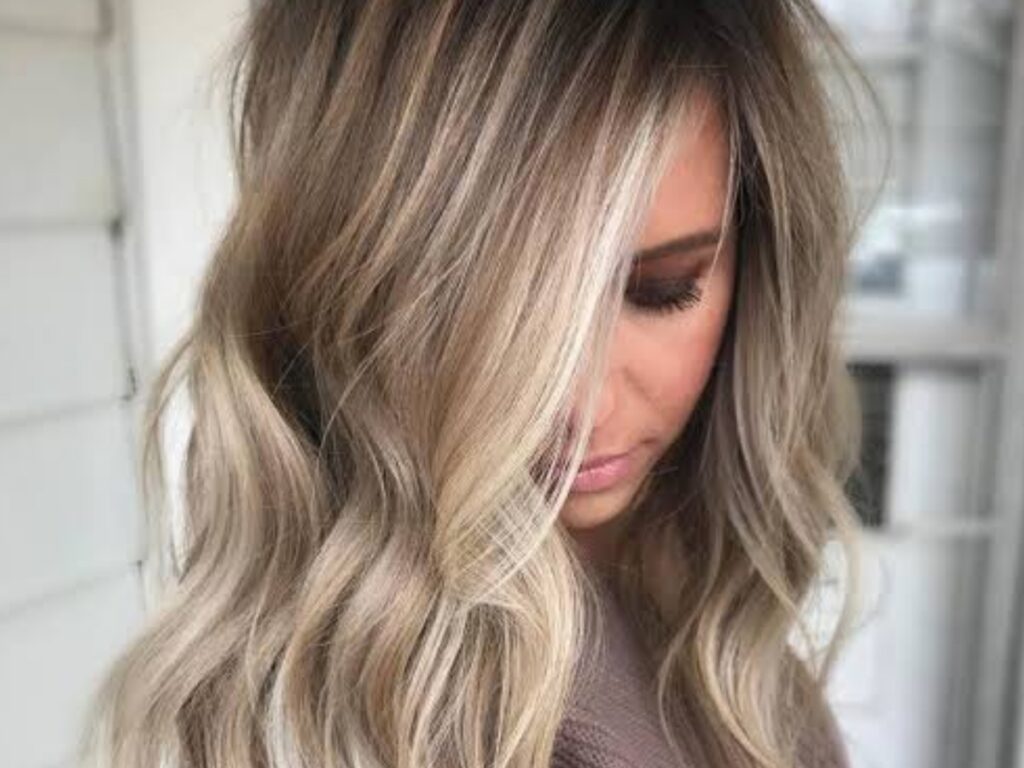
One of the key aspects of achieving a flawless Balayage is determining the starting point of the highlights. While there is no hard and fast rule, there are some general guidelines to consider when deciding where should Balayage start?
Typically, Balayage starts about two inches away from the roots. By starting slightly away from the roots, it gives a more subtle and grown-out appearance, resembling the way the sun naturally lightens the hair over time. The starting point can also depend on the desired result. Some individuals prefer a more dramatic look and may want the Balayage to start higher up, closer to the roots. This can create a bolder contrast and give a more noticeable effect.
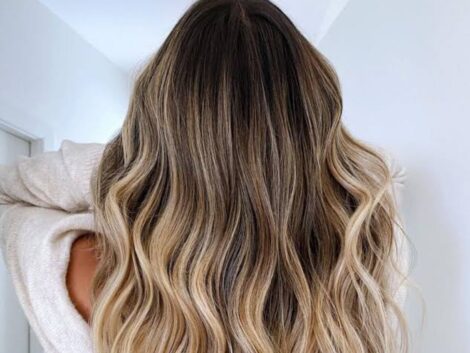
This also varies based on individual hair type, length, and texture. For longer hair, starting the Balayage closer to the mid-lengths can create a beautiful cascading effect. On the other hand, those with shorter hair may choose to begin the Balayage higher up for a more defined look.
How far up should balayage go?
The placement of balayage highlights can vary depending on personal preference, hair length, and desired outcome. It can start closer to the roots for shorter hair or a few inches down for longer hair, creating a natural and blended look. Consult with a professional hairstylist for the best starting point based on your hair characteristics and desired look.
What are the rules for balayage hair?
Balayage hair is an incredibly popular hair coloring technique that creates a natural, sun-kissed appearance with soft, blended highlights. While there are no hard and fast rules for balayage, here are some guidelines to follow when considering this technique:
- Seek Professional Help: This is a specialized coloring technique, and it is best to consult a professional hairstylist who has experience with this method. They will have the skills and knowledge to create the desired look while considering your hair type, color, and length.
- Placement: The placement of balayage highlights is crucial for achieving a natural effect. The color should be applied freehand, starting a few inches from the roots and gradually fading towards the ends. This creates a softer, blended appearance compared to traditional foil highlights.
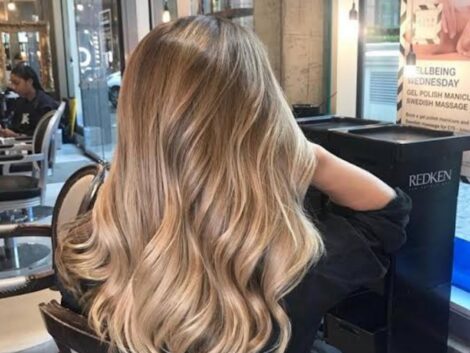
- Gradual Transition: This is known for its seamless transition from darker roots to lighter ends. The color should gradually lighten, mimicking the way the sun naturally affects the hair.
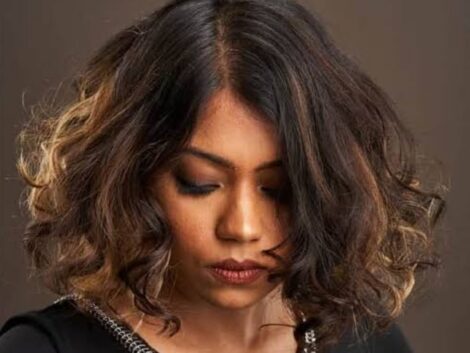
- Consider your Base Color: Balayage works best on lighter base colors, such as blondes, light browns, or even redheads. However, it can be adapted for darker hair shades as well. Speak with your hairstylist to determine the best approach based on your current hair color.
- Maintenance: It requires less maintenance than other coloring techniques, as the regrowth is less noticeable. However, regular touch-ups may still be required to maintain the desired look, so discuss the recommended maintenance schedule with your stylist.
Remember, the beauty of balayage lies in its versatility, allowing for customization and personalization. Ultimately, the specific rules may vary depending on individual preferences and the expertise of your hairstylist.
What are the stages of balayage?
- Consultation: Initially, you will have a discussion with your stylist to share your desired hair color and style. This is a crucial step to ensure you and your stylist are on the same page and to address any concerns or questions.
- Sectioning: Your hair will be divided into sections, making it easier for the stylist to apply color in a controlled manner. This helps to achieve a natural and blended look.
- Lightening: Using a hand-painting technique, the stylist will apply a lightening product to specific sections of your hair. This technique focuses on the mid-lengths and ends to create a sun-kissed, effortless effect. The lightener is left on for a specific period based on the desired outcome.
- Processing: Your hair will be left to process, allowing the lightener to lighten the selected sections to the desired shade. The processing time depends on your hair’s starting color and the level of lightness you want to achieve.
- Toning: To eliminate any unwanted brassiness or to add specific color tones, a toner may be applied. This step helps to create a seamless and cohesive look.
- Washing and Conditioning: Once the color is perfected, your hair will be washed and conditioned to remove any excess dye or toner. This ensures your hair feels soft and healthy.
- Styling: Finally, your stylist will style your hair to enhance the balayage effect. This can involve blow-drying, straightening, or curling to accentuate the dimensions of your hair color.
Remember to consult a professional stylist for personalized advice and optimal results. They will guide you through the stages of balayage based on your unique hair type and desired outcome.
How do I do a balayage step by step?
- Section your hair: Divide your hair into sections, typically using a center parting and a horizontal parting from ear to ear.
- Mix the lightener: Prepare the lightening product according to the instructions on the packaging.
- Apply the lightener: Start at the bottom section and work your way up. Take small sections of hair and use a sweeping motion to apply the lightning product to the mid-lengths and ends, avoiding the roots.
- Blend the color: Use your fingers or a color brush to blend the lightener into the hair, creating a soft transition between the colored sections and the natural hair.
- Repeat the process: Continue applying the lightener, section by section, until you have covered all desired areas. Be mindful of leaving some natural hair in between to create a more natural look.
- Process the color: Allow the lightener to process based on the timing specified in the product instructions. Keep an eye on the hair to monitor the lightening progress.
- Rinse and tone: Once the desired level of lightness is achieved, rinse the hair thoroughly to remove the lightener. Apply toner if necessary to neutralize any unwanted warm tones or to add cool tones.
- Condition and style: After rinsing and toning, apply a conditioning treatment to nourish the hair. Proceed to style the hair as desired, such as blow-drying, straightening, or curling.
It’s important to note that balayage is a technique that requires practice and skill. If you are unsure or inexperienced, it is advisable to seek professional help from a trained stylist to achieve the best results.
Do you do roots or ends first for balayage?
In balayage, it is common practice to start with the ends and work up to the roots. By beginning at the ends, hairstylists can achieve a seamless blend and a natural gradient effect. This method allows for more control over the color placement and ensures that the lighter tones are focused on the lengths and ends while the roots maintain their natural color. Applying the lighter tone first on the ends also enables better saturation and processing time, resulting in a more even and desirable outcome. However, the technique can vary depending on the stylist’s preference and the client’s desired look.
Lastly, check out the mane caper shop.